Rounding off the week of gardening posts with Part Two of the raised vegetable beds my husband and I built. If you missed Part One, you can catch up here.
As we were quite exhausted from all the shopping and building on the first weekend, we had to continue this project the following weekend (aka just this weekend past).
Supplies You Might Like To Have On Hand:
Work gloves
*To handle the wire mesh and adding the soil.
Wire cutting shears
Measuring tape
Staple gun and staples
Newspapers
Stones
*To anchor the newspapers so they don’t fly off in the wind.
Wheelbarrow
*Really essential
Shovel
*To load the soil into the wheelbarrow
Trowel or some tool to level out the soil
2-rolls of hardware cloth, 36″ x 25’L, 1″ grid
Garden mix soil
*Use the formula found at this link here to figure out how much you need.
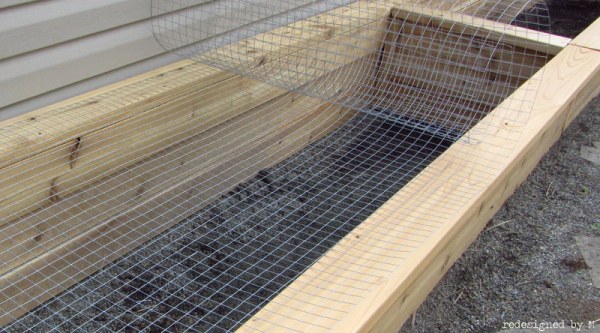
I started off the morning with laying down hardware cloth (or wire mesh screen) at the bottom of each bed. This ensures that no pesky moles or other similar pests will dig their way into our vegetables. We were told that our beds are high enough that this shouldn’t be a problem, but I think it’s always best to err on the safer side. It was much easier to add the mesh at this stage than it would be after we’ve filled it with soil and plants. Who agrees with me on this?
Pretty much, I laid out the hardware cloth across the beds and then snipped when it was long enough. I left extra length at the start and end of each bed so that the mesh would wrap up the vertical parts of the beds. You may want to wear long sleeves when you do this part because that mesh bounces back and scratches your arms without any apologies! My arm looks like I got attacked by pissed off cats.
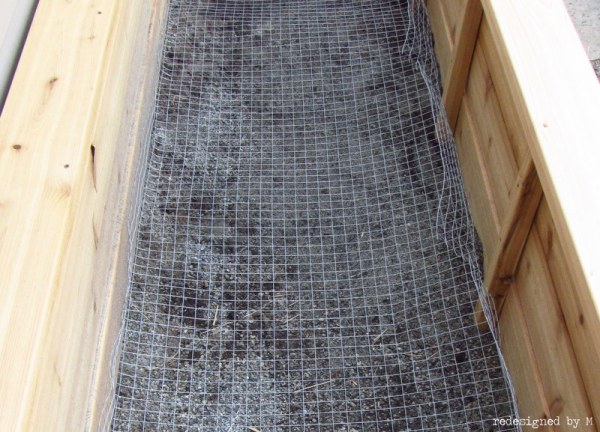
Here’s the hardware cloth placed at the bottom of the bed. I had to crease the mesh where I wanted it to “fold” upwards.
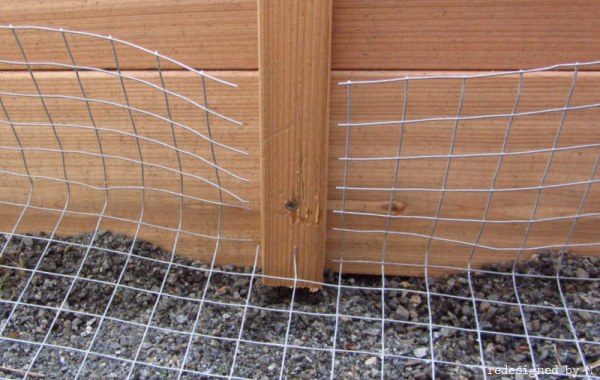
Then I cut notches into the mesh where there were studs or posts that impeded the footprint of the bed.
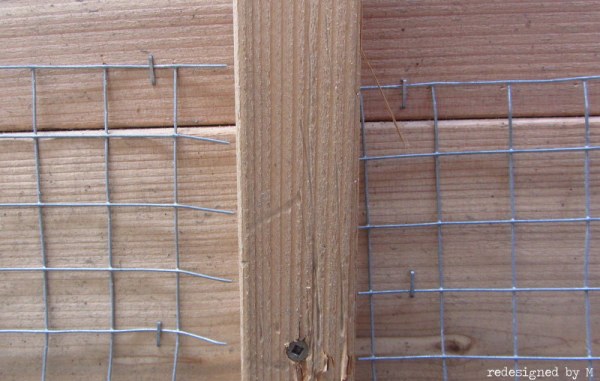
After the mesh was properly laid out, I attached it to the bed with a few strategically placed staples using a staple gun.
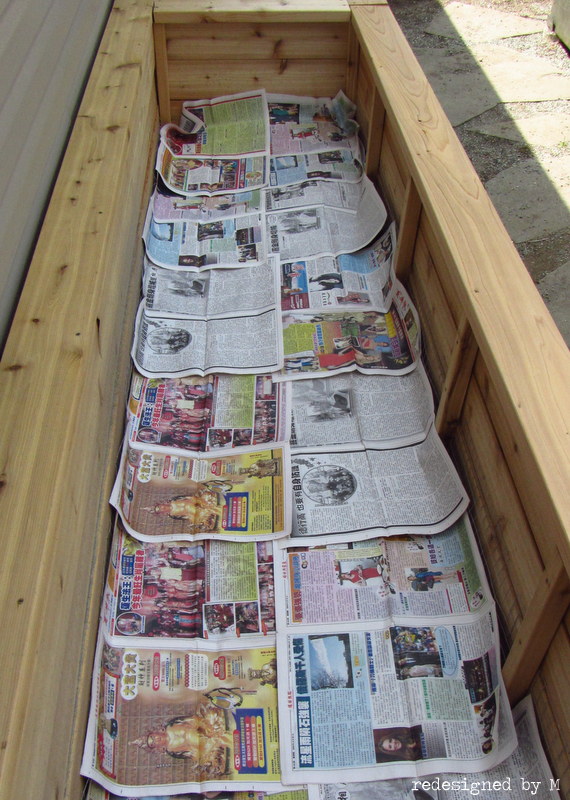
After the mesh was laid out, we laid down newspapers to help keep out weeds. We don’t want no unwelcome weeds in our vegetables!
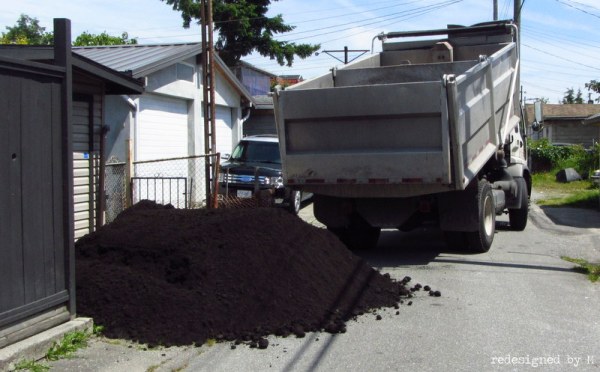
And then the soil arrived. Just in time! Buuuuuut… no one told us that they’d just dump it in our back alley leaving us to pick up the mess. Oh, did someone get the memo on that besides me?
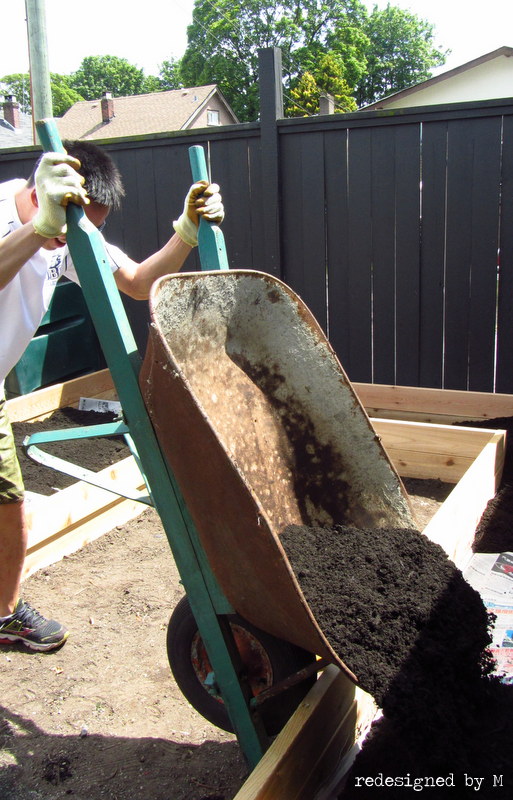
Good ol’ Mr. M! He’s so handy to have around. He hauled in countless wheelbarrows full of soil from the back alley, around the garage, and into our beds. This was extreme backbreaking work! No amount of photos or video could ever justify how much work this was. I admit there were a few times that I thought to myself, “Maybe we shouldn’t have built these beds so high…”
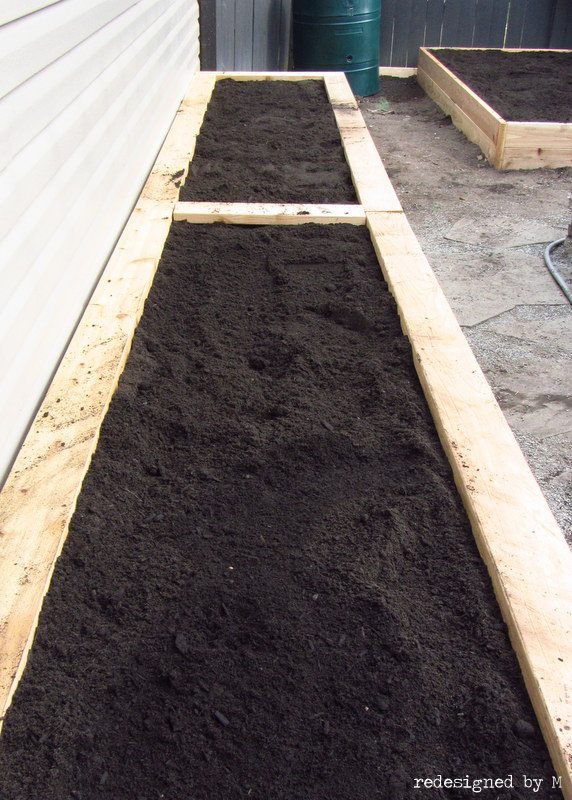
But in the end, all the beds got filled with fresh, earthy, warm garden mix. And all those flaws in the construction process that I hoped would be hidden by the addition of soil definitely vanished. Now we’re ready for planting! That will have to be this coming weekend…. hope we have time! I have a Photo Styling Challenge to shoot, friends visiting from out of town, and my brother-in-law’s birthday… ALL this weekend! How am I going to fit in planting??
Total time: Oh man! We started at 9AM and didn’t finish until 6PM, with very minimal breaks. Hardware cloth placement took about half an hour for each bed. Laying down the newspapers was really easy and relatively quick in the grand scheme of things. The soil arrived at 1PM and we worked on filling the beds for practically five hours straight.
Total cost: The rolls of mesh were $41 each from Rona. The newspapers were free as they were old papers and recycled materials. We bought 7 cubic yards of soil when we really only needed 6. Now we have a ton of soil leftover, which we’ve bagged up to save for future gardening projects. The cost for soil and delivery was $280. Add this amount to the cost from Part One and these beds have set us back $877.33. I really hope this cost will be returned in the savings of growing our own food!
Twitter | bloglovin’ | Facebook | Instagram | Pinterest



Vintage Furniture Girl
/ June 22, 2013They are really looking great! $877.33 can buy a lot of veggies at the grocery store, but not the satisfaction of picking your own and eating it from your own garden. I’ve never found gardening to be “cheaper” than buying…but it’s very rewarding. (PS, seeing the photo of your alley makes me a little homesick! More so than photos of the mountains…how weird!)
Redesigned By M
/ June 22, 2013So very true! Thanks for the reminder that sometimes it’s not always about the money. Do you ever return to Vancouver for a visit? We should get together for a beverage if you do! ~M.
Vintage Furniture Girl
/ June 22, 2013How sweet! We haven’t been back in 6 years…definitely due for a trip but with three kids it’s not in the budget. 😦
Redesigned By M
/ June 22, 2013Wow! THREE kids! Hats off to you, my friend! ~M.