
This post has moved to my new site at Planq Studio. Please visit me there to find out how to make this fun project and get inspiration for loads of other projects too!
This post has moved to my new site at Planq Studio. Please visit me there to find out how to make this fun project and get inspiration for loads of other projects too!
Posted by Redesigned By M on October 14, 2013
https://redesignedbym.wordpress.com/2013/10/14/redesigned-thrift-store-tray-3/
This post has moved to my new site at Planq Studio. Please visit me there to find out how to make this fun project and get inspiration for loads of other projects too!
Posted by Redesigned By M on May 27, 2013
https://redesignedbym.wordpress.com/2013/05/27/redesigned-thrift-store-tray-2/
Greetings from Calgary everyone! Staying on top of my blog while I’m away. Here’s one that I recently finished up before my trip.

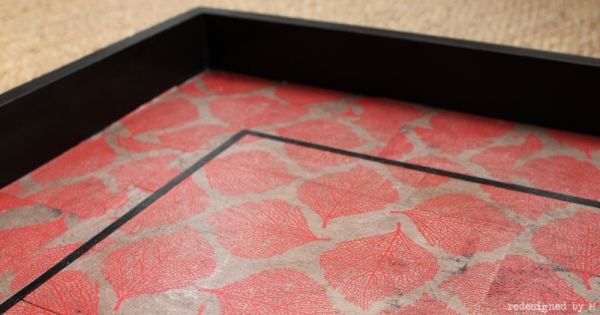
I picked up this pretty little tray at Goodwill for $4.99. I liked how basic and simple it was, a perfect blank canvas for a redesign.

I had no direction in which to take the tray until I saw these squares of silver papers with a red leaf print. I loved the paper and had no idea what I’d do with them initially, but bought out their remaining stock of 6×6 sheets and took them home. That’s when the leaf paper and the tray found love.
As I bought the paper from my favorite craft stores in Vancouver, Urban Source (see my quick review here), there just wasn’t enough material to cover the entire tray. Actually, that’s not true. I did have enough to cover the bottom of the tray IF I didn’t want to pattern match. But, of course, I did.
I almost scrapped the project entirely because I was so fixated on pattern matching and short on materials. Then I found a solution and it was all systems go from there.

Basically, I concentrated my pattern matching in the center of the tray. I had enough paper to do a square in the center, then I kept a 1/4″ black border around the square and filled the remaining border with leftover paper, without pattern matching.

All the paper was glued down using Mod Podge. After that, I took some black paint to touch up the knicks around the edges. Looks in much better shape now!

Unfortunately, I used too much glue in certain areas and created a transparency in the paper. Had no idea this would be a problem until the glue dried. It’s not exactly a deal breaker as there will be accessories to cover them. Out of curiosity, does anyone know how to fix this problem. If it can be fixed, I’d love to take advantage of it and make this tray perfect.

Supplies used:
Tray
Decorative paper
Mod Podge
Black acrylic paint
Painter’s brush
Total time: A lot of hemming and hawwing went into this project as I tried to figure out the best solution for the lack of materials. Hands on time after coming up with the solution was about 1.5 hours. There was a lot time involved in pattern matching and coming up with the final size of the center square. Glue down went really fast as was the paint touch up. If I didn’t have to pattern match, I could’ve knocked this out within half an hour. Total does not include dry time.
Total cost: The tray was $4.99 and the paper was $0.75 each. The paint was leftover from previous projects. Final total was $11.46.

Posted by Redesigned By M on May 20, 2013
https://redesignedbym.wordpress.com/2013/05/20/redesigned-thrift-store-tray-1/
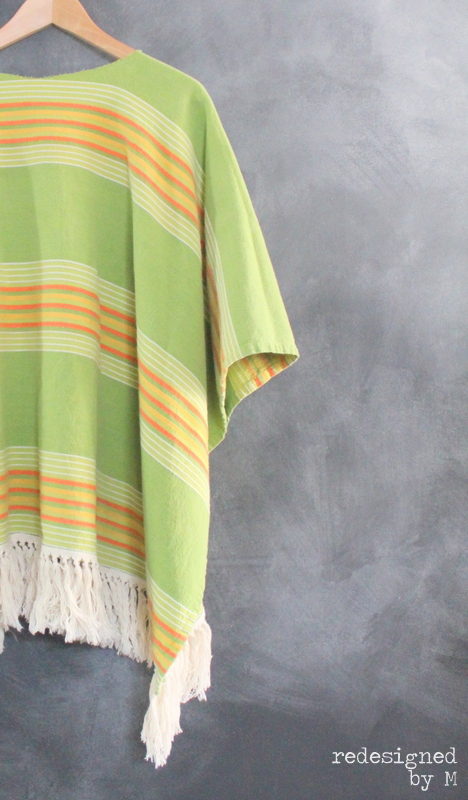
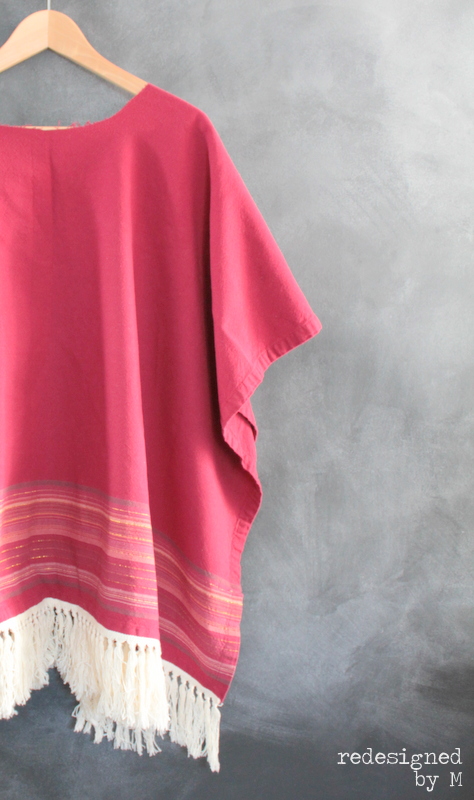
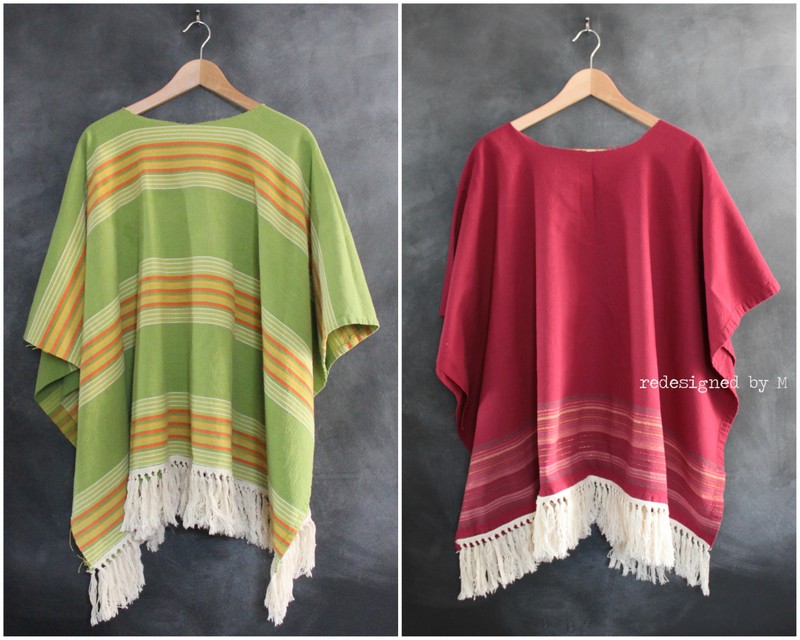
Let’s talk about the Mexican poncho in today’s second part post of planning a Cinco de Mayo party! I’ve categorized this as a repurposed project because these ponchos were refashioned from table cloths. Unable to find the perfect poncho at Value Village, I found the next best thing: upcycling a couple of striped table cloths. It worked out really well because I only needed half the table cloth for a poncho and was still able to use the other half for its intended purpose (covering a table, duh!).

I cut the table cloth in half, folded that half in half again, and cut a half-circle at the fold for the neck hole. I winged all this as I couldn’t be bothered with making a template. I didn’t even bother finishing the edges and just left them raw. The poncho still lacked its cultural panache, so I had to run off to Fabricana to buy some fringe to zhuzh it up. That did the trick! The fringe was applied with my trusty hot glue gun again. There are just some things in life not worth breaking out the sewing machine for!
Total time: No more than ten minutes per poncho.
Total cost: One of the table cloths cost $8.99 and the other cost $7.99 from Value Village. I got 5.4 yards of the fringe from Fabricana for $0.99/yard. I was able to make three ponchos out of two table cloths and used half of one for a table cover during the party. That makes each poncho a total of $6.75, including taxes.
Linking to: I Gotta Try That, Huckleberry Love, Creations By Kara

Posted by Redesigned By M on April 24, 2013
https://redesignedbym.wordpress.com/2013/04/24/repurposed-fiesta-ponchos/
In honor of Cinco de Mayo that’s quickly approaching, I wanted to share with you the Mexican Fiesta that I put together for Mr. M’s birthday last year. This is a three part post which will cover a redesigned project (that’s today!), a repurposed project, and a reorganized post in the form of event planning. I hope you’ll stay tuned this week for all the wonderful ideas you can use for your own Cinco de Mayo fiesta.
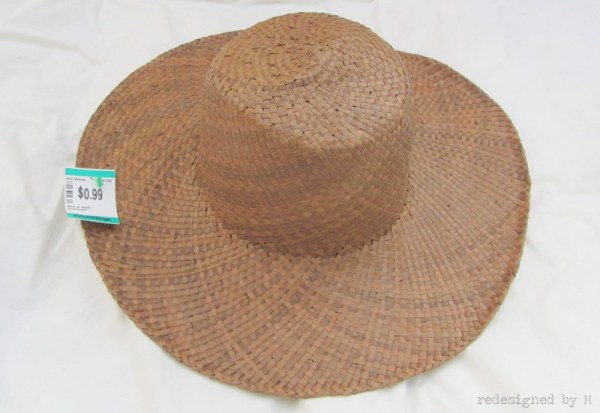
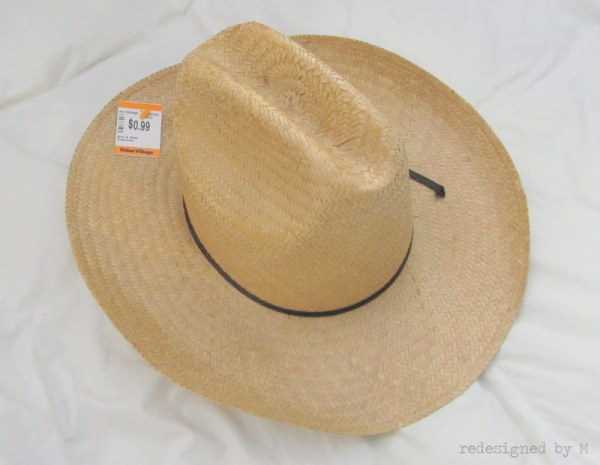
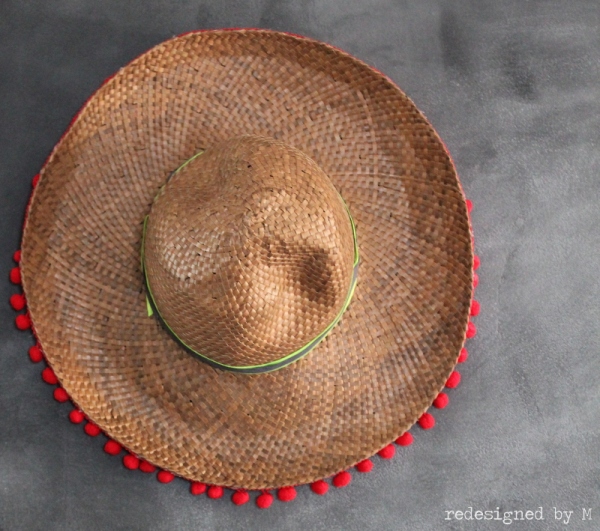
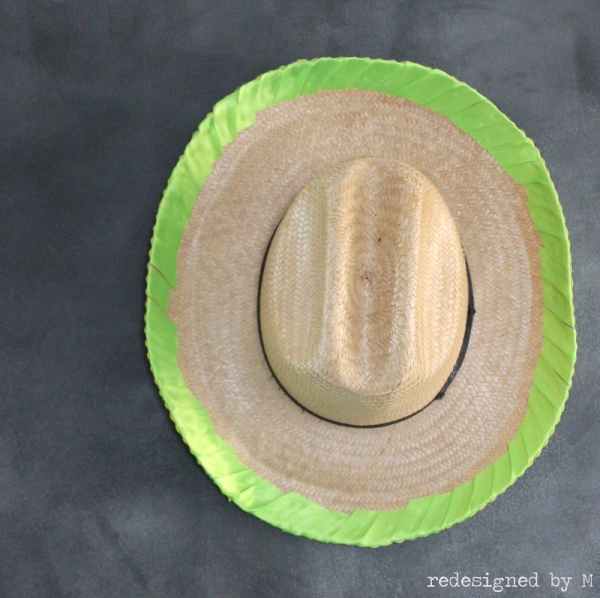
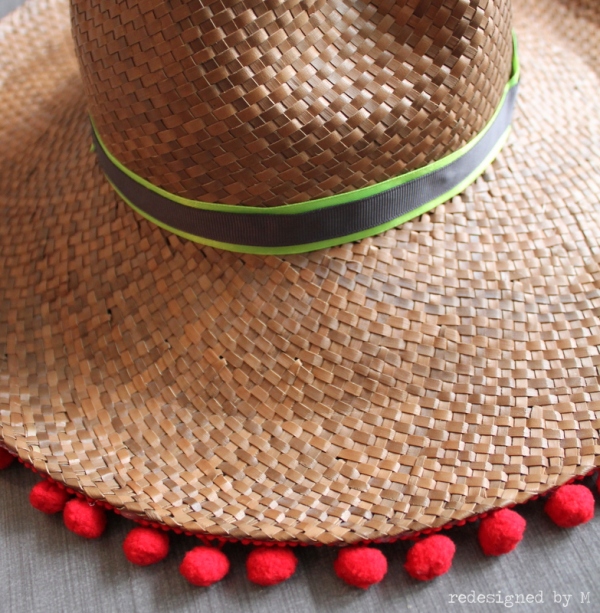
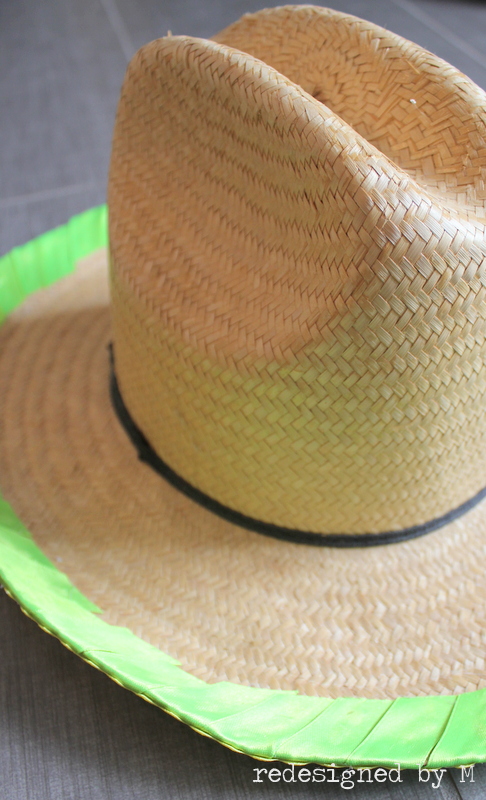
I wanted to make sure that my husband’s birthday was very special. After we established the theme, I created a Mr. M based trivia game for our entertainment, a photo booth for goofy and drunk photos, and costumes to really define the ambiance. Firstly, I made a couple of “sombreros,” which I found at Value Village. I couldn’t find the traditional sombrero, so I brought home a couple of straw hats. These were the perfect blank canvas with which I could redesign.

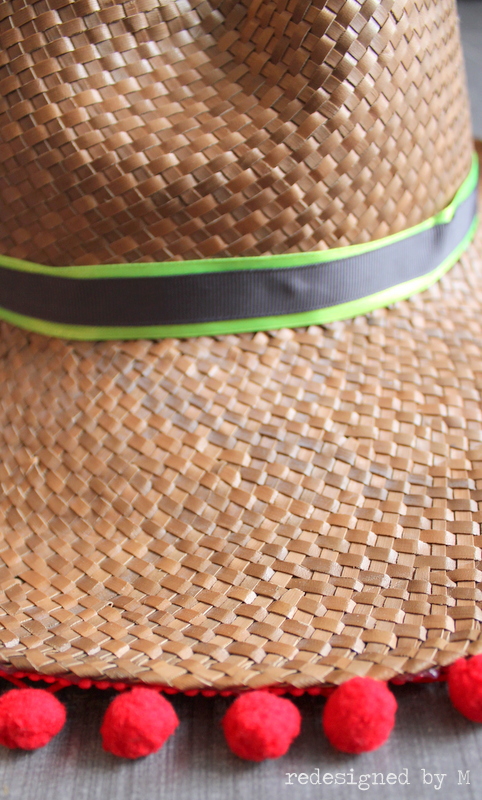
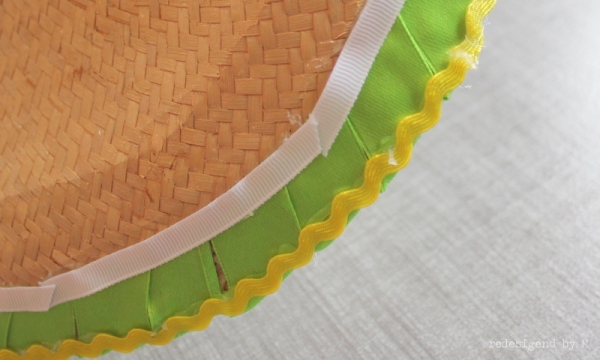
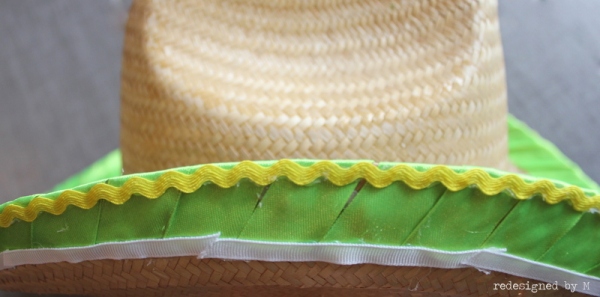
I rummaged my craft room for ribbons and bits that had a fiesta feel. As I didn’t have enough to make the hats come to life, I made a trip to Fabricana to pick up a few yards of trim. With a hot glue gun, I attached all the trim and turned out these made over sombreros.
Total time: Each hat took about 5-10 minutes.
Total cost: The hats cost $0.99 a piece from Value Village. Most of the trim I had in my possession already, with the exception of the red pom-pom fringe. I purchased 1.75 yards of that from Fabricana for 1.99/yd. The total for both these hats was $5.

Posted by Redesigned By M on April 22, 2013
https://redesignedbym.wordpress.com/2013/04/22/redesigned-fiesta-sombreros/

