
This post has moved to my new site at Planq Studio. Please visit me there to find out how to make this fun project and get inspiration for loads of other projects too!
This post has moved to my new site at Planq Studio. Please visit me there to find out how to make this fun project and get inspiration for loads of other projects too!
Posted by Redesigned By M on August 5, 2013
https://redesignedbym.wordpress.com/2013/08/05/photography-styling-challenge-2-table-setting/
This post has moved to my new site at Planq Studio. Please visit me there to find out how to make this fun project and get inspiration for loads of other projects too!
Posted by Redesigned By M on July 8, 2013
https://redesignedbym.wordpress.com/2013/07/08/project-wedding-saying-thank-you/
![]()
Inspired by all the photo challenges out there, I thought I’d create one of my own. This photo challenge is two parts:
1. Being my own stylist for a photo shoot.
2. Learning how to use my camera to its fullest extent.
I love styling photo shoots. It infuriates me when I look at photos and see details that were overlooked during the photography session. I wanted to create instances that I could hone my skills and eye for styling, that were more formal, more elaborate, and more visual than my day to day blog posts.
As for the second point: I love doing my Photo Walks, but those are mostly centered around outdoor photos because they involve getting to know my new city better. I thought if I could create my own shoots that I could style, I’d be able to have more practice with interior photography.
I pitched the idea to my blogging buddy, Ginny, of redlovinpixie, who loved it and agreed to take part in the challenge with me! I was more than happy to do this on my own, but it’ll be so much more fun to have her involved as it’ll be fun to see how we both perceive the same subjects. Having said that, anyone is welcome to participate in this challenge with us. The more, the merrier!
Here’s how it works:
1. No editing can be done to the photo other than edge cropping.
2. Camera equipment and tools of any variety may be used to assist in the photography.
3. Select 1-5 of your best photos, of the same subject matter, to be blogged.
4. The same concept must be blogged at the same time by all participants.
5. The only text acceptable for each photo is your watermark.
6. All shoots must be newly styled as of the first Monday of June 2013.
Once a month, on the first Monday.
7. Chaos
(Caveat: Must use at least 3 of the objects from “Order” photo shoot.)
10. Light
11. Living Room
12. Personal
*All concepts are open to interpretation of the photographer.
We have this month to think of ideas for our first concept and then we post our first photo shoot on July 1st! We’re both very excited about this new challenge and hope you will be, too. If you choose to participate, please let us know in the comment below so we’ll be sure to include your blog in the first post.
In other news…. for those of you who don’t follow me in social media, I wanted to brag share with you about something amazing that happened for my blog this weekend:

Do you see it? My tweet to Style at Home magazine (a leading Canadian home decor magazine) was posted in their July issue! I literally blinked several times to make sure I read it right. I never in a million years dreamed that this tweet would get published, so I’m absolutely over the moon! Thank you, S@H!

Posted by Redesigned By M on June 3, 2013
https://redesignedbym.wordpress.com/2013/06/03/introducing-the-photography-styling-challenge/
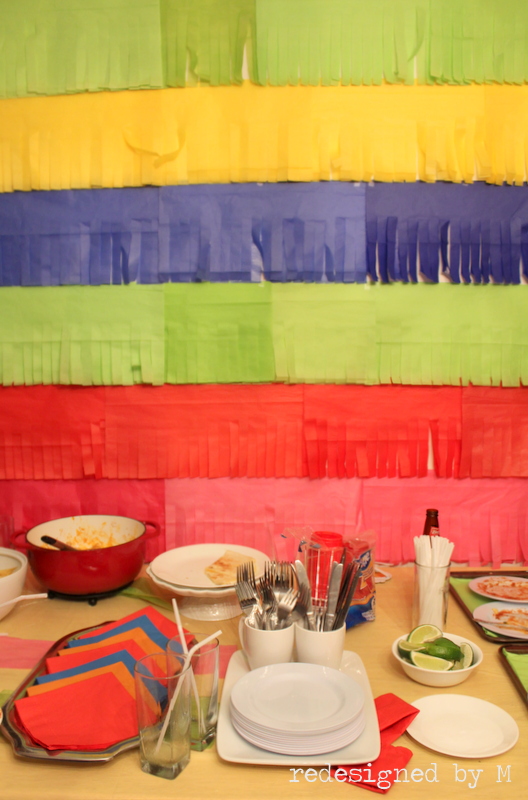
Welcome to my last post of the Cinco de Mayo series! Now that you’re looking sharp in your new costume, you can go about setting your house with decor for your Mexican fiesta. I did have some inspiration for pulling this off. Muchas gracias to Brittany at Grey Grey Designs for the creative ideas.

To achieve the piñata wall, I bought a package of tissue paper from Dollar Giant in several bright colors.
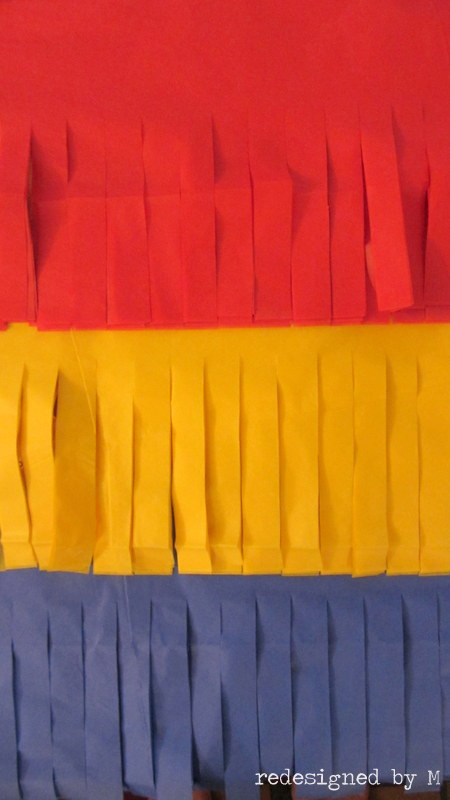
Image 1. Fold 3-4 pieces of tissue paper in half and secure with binder clips at the fold.
Image 2. All the layers of tissue paper.
Image 3. Lay down a ruler to mark where you need to cut. I didn’t draw lines or anything; just cut on an imaginary line keeping as straight as possible.
Image 4. Each fringe was cut about one inch wide, stopping about two inches from the fold.
When hanging the piñata strips, start from the bottom and work your way up, overlapping each layer of color. I just affixed the tissue with Scotch tape, which held up pretty well.
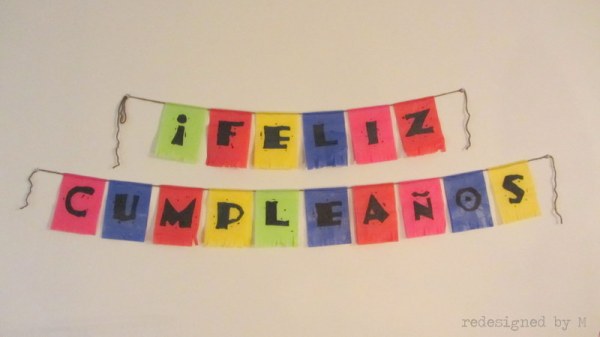
I also made a smaller scale version into a bunting. This one says “Happy birthday,” but it can easily be done to read any message you want. To get the writing on the tissue, print out your message on regular bond paper, then trace the letters onto the tissue paper with a Sharpie pen. The name of the font I used was “Burrito,” which can be downloaded for free here. To see how I strung the papers onto the string, see the past post I wrote about my wedding bunting here.
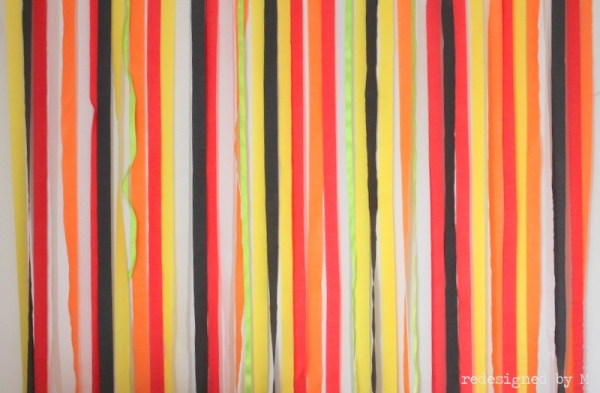
I also converted one of our blank walls into a backdrop for a photo booth. This was accomplished with rolls of paper streamers that I found at Dollar Giant, plus a roll of green ribbon. Unfortunately, Dollar Giant didn’t have any blue streamers.
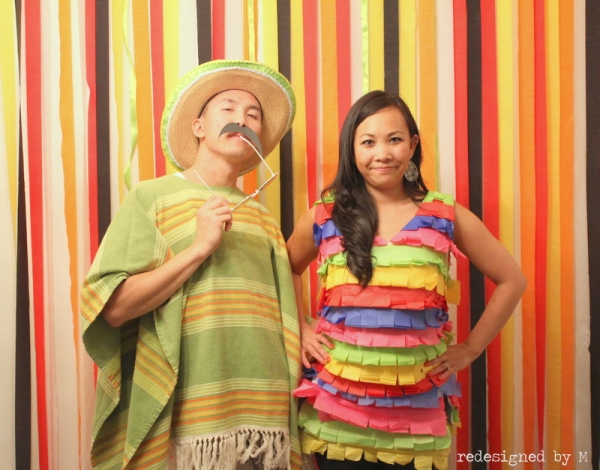
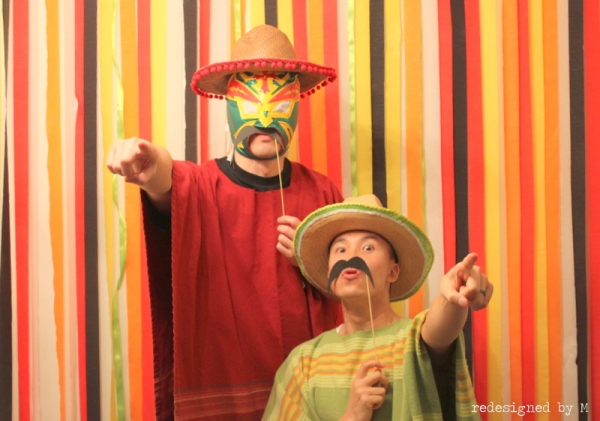
Here’s my husband wearing the costume I made for him… my adorable birthday boy! (He really likes neon green.) I also made a few mustache props for our guests to use in the photo booth, as well as poncho and sombrero costumes. His friend brought the Mexican wrestler mask – funny guy!

….The whole reason why we decided to do a Mexican fiesta for Mr. M’s birthday bash! Our friend said he could get margarita machines from another friend, so we told him if he could get the margarita machines, we’d design a Mexican-themed party around it. This was a commercial machine, so it required a ton of power and a lot more bottles of margarita and daiquiri mix. It was a huge hit, though! (Oh, and check out that table cover… does it look familiar?) If you haven’t got friends with high connections, you could always have pre-mixed pitchers of maragaritas and daiquiris on hand.
I don’t have pictures of the food as I was too busy being a hostess to think about being a blogger at the time. (Sorry, guys!) I prepared a light meal of quesadillas, chicken enchilada casserole, and a taco bar. The taco bar was so much fun because the guests could assemble their tacos the way they liked.
This party turned out really well and we got a lot of compliments from the decor to the costumes. I only had two weeks to pull this whole thing off! This time frame included a trivia quiz centered around the birthday boy… that took up a bit of mental energy and coordination, that’s for sure.
Hope I’ve given you some good ideas to organize your own Mexican fiesta. If you have a celebration at home for Cinco de Mayo, make sure you let me know how it turns out! Salud!
Linking to: Somewhat Simple, Just Wingin’ It , 36th Avenue, House of Hepworths, Tatertots & Jello, Simple Home Life, The Shabby Nest

Posted by Redesigned By M on April 26, 2013
https://redesignedbym.wordpress.com/2013/04/26/planning-a-mexican-fiesta/
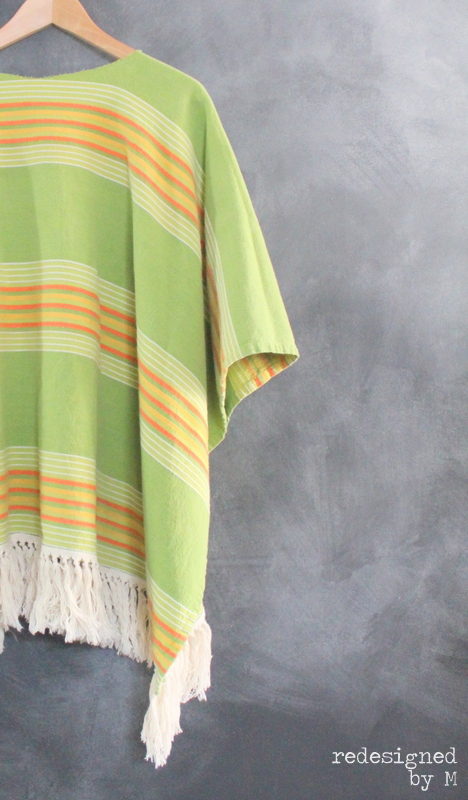
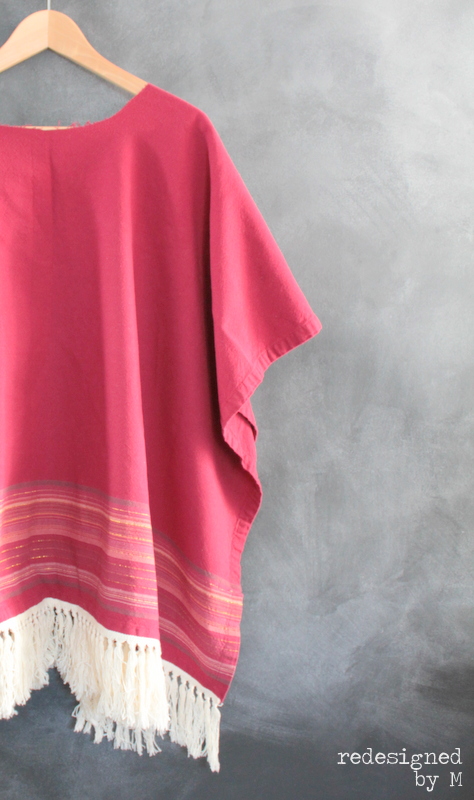
Let’s talk about the Mexican poncho in today’s second part post of planning a Cinco de Mayo party! I’ve categorized this as a repurposed project because these ponchos were refashioned from table cloths. Unable to find the perfect poncho at Value Village, I found the next best thing: upcycling a couple of striped table cloths. It worked out really well because I only needed half the table cloth for a poncho and was still able to use the other half for its intended purpose (covering a table, duh!).

I cut the table cloth in half, folded that half in half again, and cut a half-circle at the fold for the neck hole. I winged all this as I couldn’t be bothered with making a template. I didn’t even bother finishing the edges and just left them raw. The poncho still lacked its cultural panache, so I had to run off to Fabricana to buy some fringe to zhuzh it up. That did the trick! The fringe was applied with my trusty hot glue gun again. There are just some things in life not worth breaking out the sewing machine for!
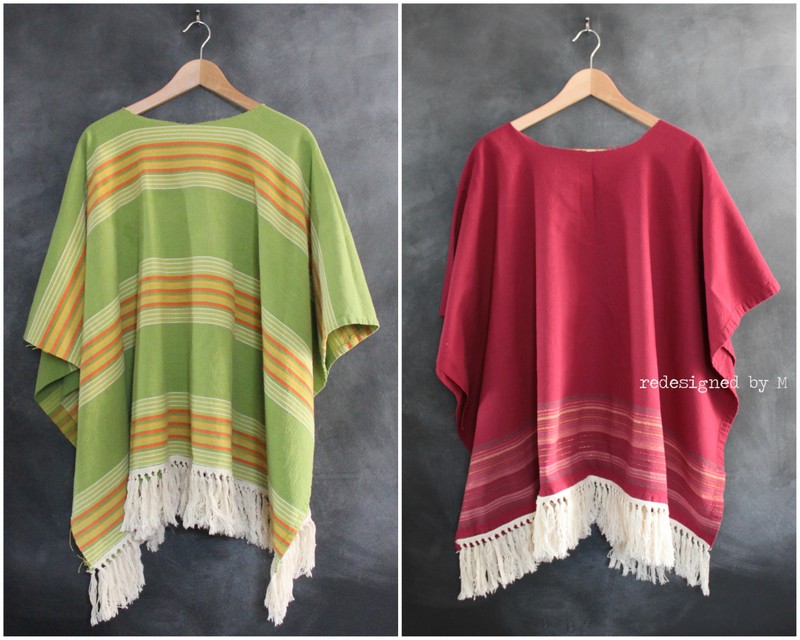
Total time: No more than ten minutes per poncho.
Total cost: One of the table cloths cost $8.99 and the other cost $7.99 from Value Village. I got 5.4 yards of the fringe from Fabricana for $0.99/yard. I was able to make three ponchos out of two table cloths and used half of one for a table cover during the party. That makes each poncho a total of $6.75, including taxes.
Linking to: I Gotta Try That, Huckleberry Love, Creations By Kara

Posted by Redesigned By M on April 24, 2013
https://redesignedbym.wordpress.com/2013/04/24/repurposed-fiesta-ponchos/

